Monday, December 31, 2012

Missing the Forest for the Trees

   So can environment force changes in point morphology? Lets define our terms.  In this case environment includes stony ground and my main target quarry was rabbit.  I love eating wild rabbit.  in hindsight, what factors should I have taken into consideration? Clayey sand with gravels, roots, thick briar patches...Brere rabbit was born in the briar patch after all.  Archaeologists have focused on arguments of style versus function, as illustrated in arguments between Binford and Bordes...but this is a little different.  After thinking through things, my preconceived notions of success were founded in the symmetry and balance that I had become to trust in the arrows that I had created, not in my tested ability as a bow hunter.  I had spent too much time thinking about the ideal arrow point given the papers read, the point types excavated, the daydreams fostered and the point types shaped, but not the moment of impact.  I had thrown a random lure into the water rather than asking "what are they biting on ?".  
 
The whole situation left me laughing by myself in the woods as I shot a beautiful obsidian point, missing a rabbit and vaporizing the whole thing against a hidden cobble.  Maybe I'm late in the recognition that in some cases beauty has zero function.  Nevertheless, lesson learned.  I had become enveloped in the task of tool creation rather than tool function, subconsciously hoping that time spent in tool production would create a favorable outcome.  We all do that to an extent, nicer cars equal heightened acceptance, bigger houses equal better lives...better gear equals a better vacation?  

      The snap of a point underground is not a sound one forgets readily.  The bowstring releases, the arrow files...the sound of stone in sand, and then, just...a quick grinding sound that instantly takes away an afternoon's worth of work.  The rabbit scurries away and the implement of death becomes something of a joke, a crooked twig in the sand.  All the potential energy that flexed the arrow through flight has spiraled its way onto a terrific failure, a broken point, a crooked shaft, missed food.

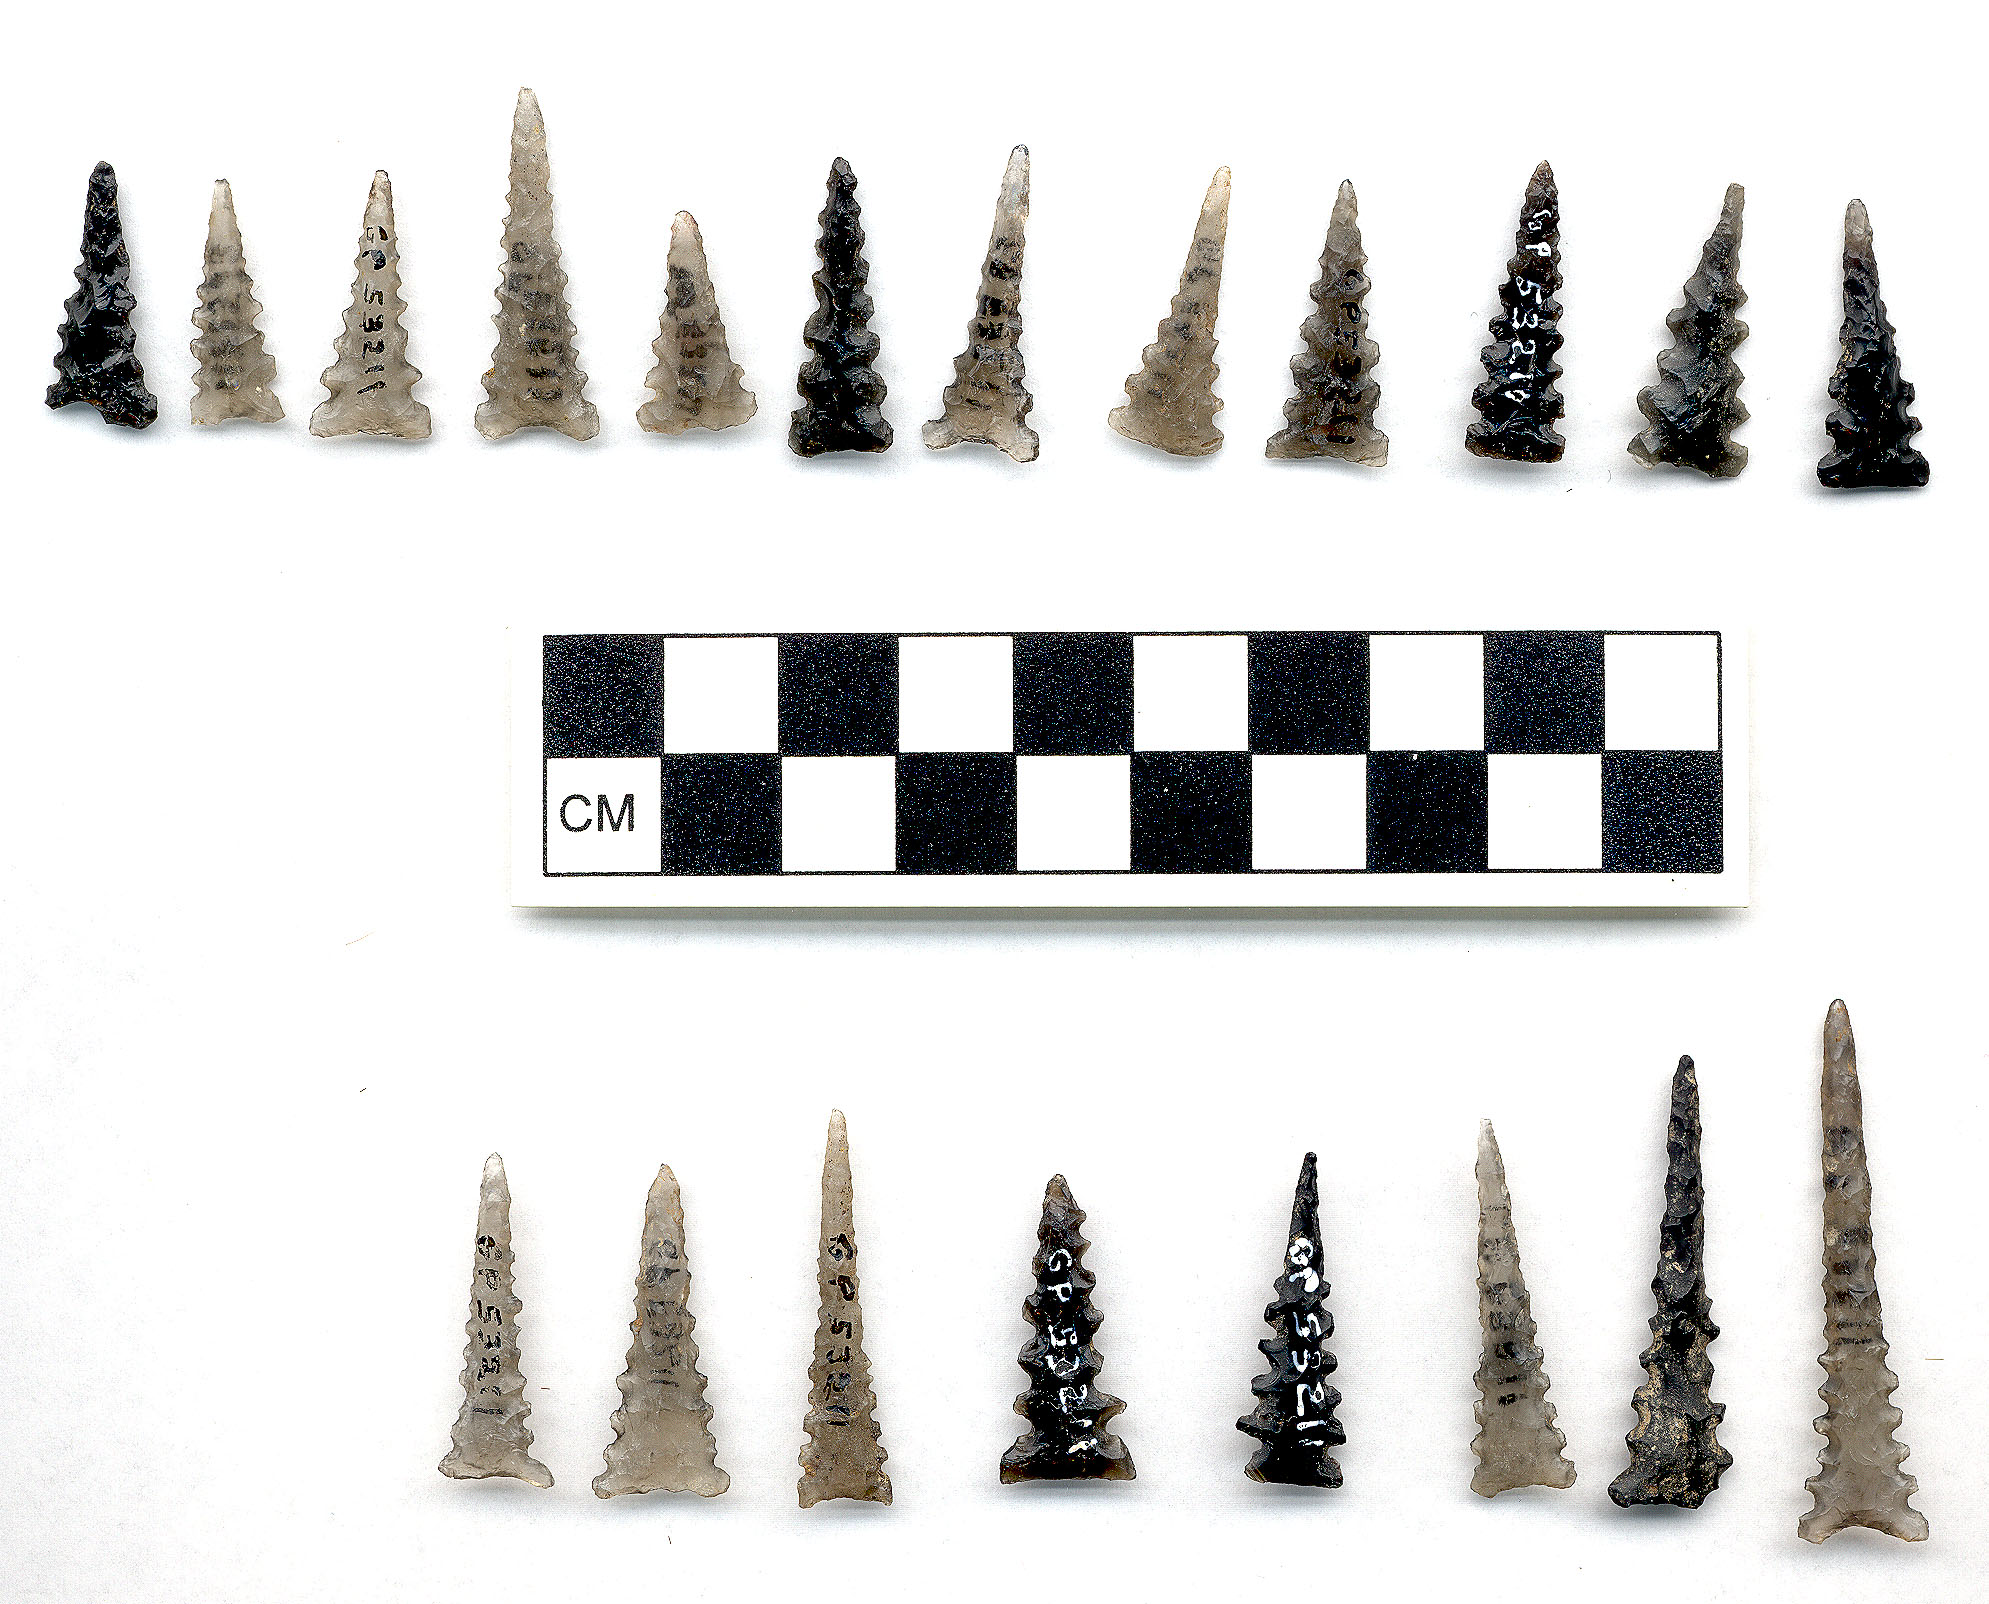
So did a new environment create a change in point morphology?  You bet it did.  But not just in point shape, but in hafting approach and arrow length as well.  The stony, root-thick ground prompted a shift to shorter, sturdier points with barbs towards the back, deeper notches and sturdier wrapping.  I made triangular points with concave bases such that there was no base to snap.  I applied a healthy dose of pine pitch glue while letting the concavity of the hollowed out triangle let barbs stick out.  After this I had no more point snaps in the thick roots and brambles.  I secured the point with deer sinew for extra measure. This was my approach to hunting East TX rabbits.  The method offered an arrow that could be used over and over again without fear of breakage, the little buggers are indestructible!

      I'll be using small, thick side notch points and V-shaped points for hunting small game from now on, it works for me.  My technological approach for hunting small game in East TX went from long points (see Straiten up and fly right) towards shorter, sturdier points with more pitch and deeper notches.  So yes, changing environments and new species can prompt changes in point morphology.  This case is an example of environmental or "individual learning".  Successful approaches such as these were communicated rapidly between peers though horizontal transmission and were also transmitted vertically via traditional parent offspring teaching.

While I didn't end up with any rabbits in the freezer, I did come away with a few valuable lessons from the trip.  Thanks for coming along and cheers.

Coming up next!!!

Nordic wood stoves...YUP! 

Sunday, December 30, 2012

Maybe Next Time

Happy almost new year!


Target practice in the woods
      I traveled to East TX to collect a few understandings about how my arrows would fly and how the environment and prey would force adjustments to the technological approach I entered the arena with.  I took several point morphologies along for the trip (see the last blog posting).  All but one had both pine pitch glue and deer sinew wrapping to secure the point to the arrow shaft.  The main variability within the quiver came from point length and projectile base shape.  A few arrows were side notched, a form of attachment that is common in pueblo type sites.  Good examples of these are Pueblo Side Notched, Point of Pines, Awatovi Side notched.  These point types appear in the southwest after the Chaco Corner Notch tradition (ca. A.D. 750-A.D. 950) and were in use by about A.D. 1150.  Corner notched points of various morphologies remained standard issue for the following few centuries and are found from West TX across NM, AZ, CO and UT.
Frost on blackberry leaves with a Pueblo Side Notch

      I also took a few other types, a small obsidian San Pedro (groan) an un-notched and un-wrapped long triangular point (fail) and an Awatovi on novaculite (RIP).  So what happened? get to it already! where are the pictures of death and destruction!!!!  I feel we need a quick sense of the environment first as it played a major role in forming my decisions and tailoring my ultimate failure.

I tracked three deer from the ridge in the back to this spot
  
      The area consists of rolling hills and deep gullies with short-leaf pine, oak, maple, endless brambles and thorns across a landscape of sand, sandy clays, gravels and boulder outcrops. Hogs are there for sure, didn't come across any during the daytime where tracking by a blood trail would be possible.  Rabbits come out in larger numbers at night in this area and created quite the challenge.  I managed to track three deer and got within 30 yards but we don't shoot them here.  I fixed an LED flashlight to my recurve bow and set out.  This is not to say I stopped hunting during the day, on the contrary, I put in about 16 hours of daylight hunting.  Night hunting was a lot of fun.  The restricted vision, frost, breath vapor, rain, mud and blood made it eerie and terrific! 


Brown clothes and a green hat seems adequate camouflage
Flashlight on the bow, look for glowing pink eyes


So here's the breakdown:

Total of 30 hours hunted over two separate two-day forays
16 shots on prey, 1 arrow lost, 1 separated from haft, 1 broken at tip and retouched, 1 broken at base.


 With this track record things look terrible. But!  Skills did improve greatly over the course of the hunts, meaning I missed by smaller and smaller distances :)  As the recurve bow doesn't have sights one must use what's called "instinctive shooting" where you look at the target and trust your brain to compute the correct trajectory.  It works great with a little bit of practice.  Also, rabbits with a flashlight is a little ambitious regardless.  I managed a rough average of 1 shot on target for every two hours of hunting with a total of 4 arrow mishaps (lost or broken). 
Hogs have rubbed up on this pole and dig their tusks into it


       Imagine I were to hunt three times a week for a month, with increased skill or luck shots accounting for some level of survival.  At the current rate I would submit 12 arrow points to the archaeological record and break and rework a point at least 24 times!  Seems some continued practice is in short order.  When we consider the possibility to lose up to 144 arrows a year, think of the deposition by one hunter over the course of a hunting carreer, epic!
     
      Now take that to the band level, of which perhaps 15-20 individuals are active hunters.  The main caveat here is that they would have begun training at a young age and would be quite proficient in local hunting methods.  Regardless, if each person in a hunting foray lost one point per hunt at three hunts a week that would total 168 points to the archaeological record every month, wow.

Ok nerd time is over...The hunts were a lot of fun in a beautiful part of the planet.  Great lessons learned and more to come.

Coming up next!!!
How did the natural environment force changes in point morphology? Yes it did, and yes it worked better.


Thursday, December 20, 2012

Part deux- Straighten up and fly right


 After the fletching fiasco was over I realized just how valuable it would be to have someone around that could crank these things out if hunting was to be a habitual activity.  I tried three different fletching types.  I tried glue with modern pre-cut feathers to have a fall back plan if all other stuff failed.  I tried splitting turkey feathers and using glue and also did a no glue, all sinew method.

The sinew method is pretty tough to get the hang of, Youtube makes it look all too easy.  The three feathers at once does have benefits though.  All feathers go on at once and no glue is needed so it's an important thing to know about.  No knots either, the sinew takes care of that mess.


They all worked out fine and should fly well.  Notching the shaft wasn't a hard thing to do, however, a few things to keep in mind:

1. The thickness of the point bases have to be relatively standardized.  If you're trying to haft a big ol' clunker of a point it's just not going to work out well.  So, arrow points need to stay thin on a functional level.  If it's not thin enough to fit into the hafting socket you are out of luck, try again.

2. Pay careful attention to the groove you're cutting into the shaft.  If you go crooked with  your cut you will have a crooked point that will snap on impact.  As with all this stuff, it's best to stay attentive to the functionality of the thing you're creating.

3. Pine pitch glue will help seat the point, take the time to use this method if you have the resources.  Combined with a sinew wrap this technique will offer an extremely durable point.

4. Do a spin test before applying sinew by turning the point on your finger to make sure the point is well balanced in the seat. If it's spinning off center reheat your pitch glue and re-seat the point. 

 I found that the thin flake I was going to use for creating the haft seat was not aggressive enough.  The edge make thin slices in the wood and broke.  I needed to make a more durable working edge that would remove more wood.  An obsidian blade with a little pressure flaked saw edge worked like magic.  I also found that working an angle about 45 degrees to the flat end of the wood gave me a thin wedge of wood in the middle that could be cut out with the sharper flake.


after seating the arrow with pine glue I gave the points a wrap with the sinew.  Start from the base, wrap up, do a couple crosses over the notches then wrap back down so the crosses are covered by the back-wrapped sinew, super simple.  As the sinew dries it cinches everything down snug.  With this way there is no wiggle at all in the haft and will transfer all of the energy into the target.  

I repeated the steps to make a total of five arrows


Here's a glue stick I made the other day when we were hafting atlatl darts.  You make it from charcoal, pine resin and grass fibers.  Heat, mix and store for the next use, brilliant.  

Here the point is seated and the glue has begun to set.  Spin test passed, haft is ground and scored.  We're ready to wrap with sinew!


This point is serrated with two retouch passes.  The first pass  isolated the larger spaces.  A second pass put small notched into the first set.  Made hills out of mesas in a way.


Alright, you can see the crossed wrap that will cinch the point into the haft seat.  I start at the base of the haft, wrap up, cross over twice then wrap back down.

Again, haft notch has been cut. I like to grind the ends so there is a smooth transition from stone to wood.  The point sits well, time to put the parts together!
 Here are some larger images of the finished product

Here are the five finished arrows.  we'll see what becomes of them.  Each arrow has it's own personality and I can't wait to destroy them against a rock.

Coming up next!!!

Winter bow hunt in the piney woods of East TX.

Good luck and happy hunting

Part 1-Straighten up and fly right

I'm always learning new things about the organization of one's time when scheduling the procurement, production and use of traditional tools.  One thing that came to mind during this project was the significant amount of time it takes to complete a single arrow.  You could imagine the annoyance that accompanies a  splintered arrow with a tip that just hit a rock and evaporated.

Most folks that flintknap go no further than creating an arrow point, just put the pretty little sharp thing in a drawer or give it to friends.  Turns out this is like giving a friend a single spoke to a wheel.

The process got faster when I created a little assembly line, one of those efficiency of scale type moves.  In other words, it's much more worth your time to build several arrows while you have the materials at hand.  By setting up a chain of operations you can fletch and haft up to ten arrows in a day with traditional techniques.  I'm sure there are folks out there that could turn out multiples of ten given the practice.

 Things you see here: Deer sinew for wrapping feathers and attaching points-this stuff is a great material to carry on hunting trips...prehistoric duct tape.  Twelve wooden shafts from the local archery store (thanks for the hookup guys!).  A bag of plastic nocks, yes plastic, I know I know.  A bag of stone hunting tips, pre cut fletching feathers. stone flakes for use in the process
 Here are the candidates, turns out each arrow takes on its own personality and calls for thought in creating a balanced arrow.  The weight of the fletching and arrow weight should be taken into consideration.  I made a suite of several different arrow weights to check out my favorite.  The stone materials you see here are argillite (green), Lonestar Beer bottle glass (glassy brown), Brown's Bench obsidian (larger black point), Malad obsidian (smaller San Pedro), Arkansas novaculite (white Pueblo Side Notch), Edwards chert (Concave base un-notched) and cherd from Florida (little brown point). 
 Deer back strap sinew, you just pull off strands, chew and apply as a wrap, you don't eben need to tie a knot!
 Nocks in place, beverage in hand and ready for the hard part...fletching...uggh.  This part is something that will take a lot more practice on my part.  you can have the best little hunting point out there, but if doesn't fly where you want it to you have wasted a lot of time and energy, two things you are at odds with when seeking food, water and shelter.  Here's a nifty tool: it's a composite tool, meaning it has multiple uses built into one tool.  I have created a steep concave indention for scoring the arrow shaft and left a sharp side for cutting and trimming sinew and notching the haft.  We find tools just like this one all the time.  The sharp side can be used to split feathers and trim the fletch seating.

Here is one fletch setting onto the arrow shaft.  There are more efficient ways to do this once the skills are honed, it was pretty tough to get right.  Here's the middle and final stages of fletching the arrow.  It's important to think about feather spacing as a misplaced feather will get ripped off by the bow as it releases.  So step number 1 is complete, fletching is on, now to repeat the process and get better at it.

Coming up next!!! I try a little different fletch tek and attach the points...stay tuned.


One feather down...infinity to go


half way through the process with binding on while it sets

finished fletching, trimmed and tied down with sinew

When it doesn't explode, it works great!

I was out in Fredricksburg the other day and ran across a stone flake in a stream bed.  The flake had little divots in it and circular cracks.  These flakes are commonplace for anyone that has excavated archaeological sites where fire and stone were used in the same area.  These little crater attributes are called "pot lids" due to the basin and lid shape of the stone bits that fly off during thermal shock.  Prehistoric groups often made hard stone more workable by heat treating tool stone in the sand underneath a bed of coals.  This process changes the characteristics of the stone, making it a little more brittle but much easier to work.  I wanted to recreate the little pot lid flakes that are so common at areas where ancient stone tool users built fires on top of old discarded flakes.  So, I did.  It was a quick little project to check out how color changed and how pot lids form.

Findings:

It really doesn't take all that much heat to affect the chert, a few coals will do the trick.  Most folks that heat treat stone these days take the temperature up to about 400 F.  One piece of the Edwards chert (gray stuff from Austin) did well, turned waxy and had a slight color change to pinkish cream color.  One of the Edwards chert pieces exploded (yay!) and created the dimpled stuff we find all the time.  The other material is Alibates chert from West TX.  This material had the most significant color change and turned lustrous and easier to flake, although it was markedly brittle.


 You can see the color change in the Alibates to a rosy color instead of the original brownish cream color.  The heating managed to create those little circular cracks that we were hoping to see.  The Edwards chert seems to be a good candidate for a larger scale attempt in the future.  You can see that it dried the piece out and will offer flake production with less effort (the bit that didn't explode)


Well fun fun!  Not heat is needed to make flakes easier to work.  The key would be to use a controlled increase in temperature and uniform distribution of heat.  Maybe I'll try the process for real on some larger spalls.    

Coming up next!!!

I'll use one of these flakes for the new project- making arrows for an upcoming hunt.

Saturday, December 15, 2012

Bird points with no birds?

San Pedro point from excavations at Mule Creek, NM

While, yeah, I do have a major crush on San Pedro points (such a dreamboat) they're probably not the best for all uses.  Bow and arrow? maybe a scaled down version.  These things are usually pretty large, about the length of your pinky finger and would make an arrow take a digger before if got anywhere.  Soooooo...let's play!  I have a few smaller points made on different materials to see how it all comes together.  This will be a bit of an endeavor so multiple posts will be made to detail the steps.  I'll finish up the project by going on a hunt with them out in East TX.

there are a few things I need to consider, and my approach will affect the morphology of the items I carry with me.  We could take this back a few hundred years ago (actually about A.D. 400 in N. America) and think of how raw material availability, target species, arrow weight and culturally learned behaviors may have had an affect on each arrow.  The strange thing I end up chatting with other traditional hunters about is the fact that we are exposed to a much, much larger pool of potential projectile point shapes than prehistoric peoples.  Not to say independent innovations and form exploration didn't take place, cause it did.  But! we have books of point forms and our ancestors did not, just sayin'.  This just means that I have a larger bag of tricks to pull from, unfortunately you still have to be good at hunting for any of these silly flaked stones to work.  The odds really aren't in my favor on this one, books or no.

Here's what I propose:
 As with the rest of this blog, this is my lithic tradition and is completely biased towards my own personal cost:benefit judgements (but it still has to look cool...imperative)

-Weigh points by themselves then on completed arrow to see if there's a happy weight for my bow
-See if I have a preference in hafting element between side notched, no notch and corner notched points.
 -Which appear more robust? was any breakage just bad luck?  What lessons should we remember for the next gear-up and hunt.

Hopefully this will culminate in a productive romp in the woods with a few lessons learned and a few rabbits or gnomes in the freezer   

The points don't need to be big, seems folks have been calling small points "bird points" because they feel they are only big enough to shoot birds.  Weird, why then do we have tons of deer bones, broken small points, barely any bird bones and no large point frags at sites where bows would have been the primary tool for hunting?  I'm of the opinion that small points are quite capable of taking game as large as deer, check it out, little morbid but gets the point across well. 

Deer remains from a trash deposit in a room block, Fornholdt site, NM

Here are a few points we've come across during work at Tularosa Phase pueblo sites in southwest NM.  You're looking at Pueblo Side Notched points (PSN) and Tularosa Corner Notched (TCN) ca. 1250-1300 A.D.


Cheers

Atlatl? How do you even say that?


Ok so the other day I made a few points to haft to atlatl darts.  An atlatl (at-lat-l) is a tool still used in parts of the Amazon basin for both hunting and fishing.  The technology precedes the bow and arrow considerably and was a huge technological leap forward from regular thrusting spears.

The apparatus is wonderfully quiet, in fact, all you can hear is the feather fletching as it sails...no bow string pop, no cartridges...pretty simple and very efficient.  In just going for distance the darts sailed a good 75 yards.  When it came to accuracy I was able to hit a small hay bale at about 25 yards consistently, granted I've only had less than a year playing with these.  The cool thing about these is that you don't line up sights as you do with a rifle, and to a certain degree a bow.  This get up is more determined by your body movement and follow-through.

I wish I had more photos, I got too excited and forgot to take a bunch.

The shaft is made of cane, you want cane as it gives you a lot of flex.  As you throw the dart it flexes and then springs forward, this gives you a little extra zing.

The dart point is made from obsidian collected from Brown's Bench, Idaho by one of my committee members, Ted Goebel (thanks Ted).

As far as the point itself, I've become a fan of the San Pedro cluster of points.  A little about them- Late Archaic, about 3500 years ago at the earliest and was still made until about A.D. 300 (1,700 years ago).

 Why do I like these so much?  Well they're a great example of the cost:benefit ratio that seems to play a pretty major role in how tool kits look.  Not too hard to make, solid hafting element, easily resharpened, variable sizes still work well..it's got it all!  Think of this in comparison to another, more costly, less reusable point, Snaketown points for example.  Fun to make, fun to shoot, not very practical for daily stuff.

Ok, enough, the points flew really well, maximum distance of 75 yards or so, with a little practice you could get accurate to 50 yards with good penetration.  Give the tek a try! Remember not to make your dart point too heavy or it'll nose dive.  If the shaft is too heavy it'll do a back flip in the air :(  The right combo should feel light and springy.  Here's some links!!!!

How to make an atlatl

How to make darts

HAhaha, Is this Kip from Napoleaon Dynamite throwing darts?


Australian version called a Woomera